Struggle With Hair Extensions? Read These Tips!
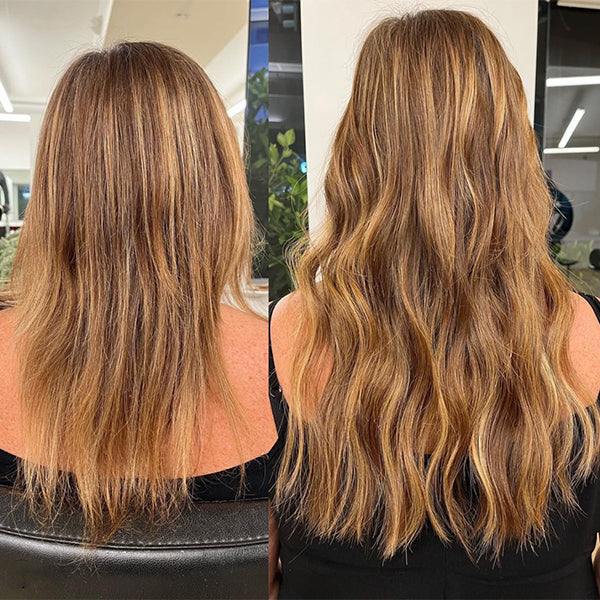
Don’t get caught up in easy mistakes that are holding you back from becoming an expert at extensions. Instead, get the knowledge and tools you need to gain confidence in your skillset! Bomane Salon Owner and Line One Hair Extensions Founder Drea Jaclyn (@andreahenty) brought a team of experts to The BTC Show 2021 stage to share their secrets to flawless installations every time.
Keep scrollin’ for tips from Drea, Chrissy Danielle (@hairbychrissydanielle), Shaylin Jones (@shaylinjoneshair), Lorien Meillón (@lorienmeillon) and Allison Cohen (@colorbyally).
#1: Avoid Slipping Tape-In Extensions
Don’t skip this crucial step: After applying the top and bottom Invisible Tape Extensions to complete a section, Drea takes an extra step to prevent slipping. She uses a flat iron at 300 degrees, clamping over the base and sliding down the section.
Here’s why: The extra bump of heat works as added insurance to lock in the extension and prevent slippage when the client leaves your chair.
#2: Unwanted Bulk Or Square Shape? Try This!
You do a full head of Weft Hair Extensions to find out the client is unhappy with the bulk on top creating an awkward square shape—yikes! To prevent this, Shaylin says to focus on the areas where the head naturally protrudes: The occipital bone and parietal ridge. Apply the extensions above or beneath these areas, never directly on them!
Pro Tip: Take a step back and look to make sure the head shape is not changing, says Shaylin. Pull the hair into a sleek ponytail to show your client and confirm that the installation is as smooth as possible.
When To Use A Hybrid Method
If a client already has thick hair, Allison suggests doing a hybrid method. Instead of applying three rows of wefts, install only two rows and fill in the areas that lack density with I-Tips Extensions. Wefts and I-tips have the same longevity, so this will make it easier to schedule a client’s next appointment to “bump up” all the hair at the same time.
#3: Avoid Visible Extensions Around The Hairline
As Chrissy moves closer to the hairline, she switches from full bonds to half bonds with Keratin Flat Tip Extensions to match the density toward the front. Leave 1 to 1.5 inches around the hairline out without any extensions. This allows clients to pull their hair back and makes the installation invisible.

#4: The No.1 Problem Area With Extensions
"The nape area is the one spot that will make or break your extensions application," says Drea. Focus on your haircutting technique! Instead of cutting the length directly across, find the break where the natural hair ends and slide-cut down to blend.
Lorien starts in the front to put emphasis on the face frame, dropping out the natural hair and carving into sections to soften the blend and remove any bulk through the ends.
#5: Don’t Overthink It!
Extensions can be intimidating for clients and stylists who are new to the service. Here’s a great place to start: Drea has built her entire extension clientele by popping in a few keratin extensions on the sides during regular appointments. This is an easy way to introduce clients to extensions, so you can start making more money with these services!


